Pixelation Lesson 3 - Trees
by Sew
Today, let's talk trees.
Before we being any work on our tree we need to realize a few things about trees. The first thing being that since your characters are going to be 20x20, your tree should be larger than that, because how many of you are taller than a full grown tree (I'm looking at you, Hachi-Roku)? The exception being if you're on a world map, because it's common to have distortion there. Another thing to take note of is that there are many different kinds of trees, so be sure and choose one, or many, that fit in with your character's world.
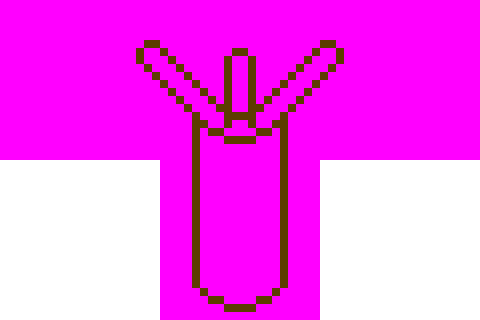
Let's start out our tree by creating it's trunk. The basic shape of a tree trunk is a cylinder.

And from the top of our base shape we have brances, which are also cylinders. I've colored coded the top area so you can tell what part of the tree the brances should come from.

Even though I'm only adding 3 branches, remember that trees can have many more than that. Now that we've decided where our brances should come from, let's add them to tee tree.
(editor's note, this image is scaled horizontally. Click to see whole picture)
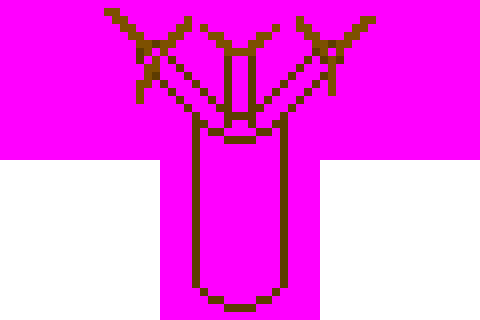
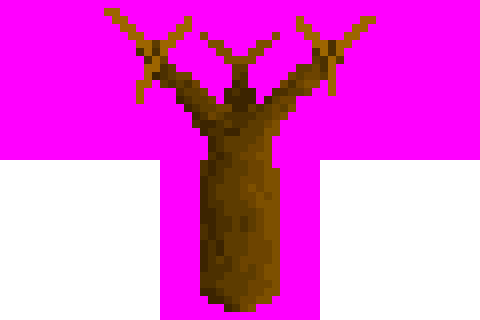
So far, so good. Next, let's add 3 more branches extending from the branches we just made.
(scaled, click to see whole picture)
I've colored mine a few shades lighter so you can tell where they are. If you make them the same shade you might get confused on their location.
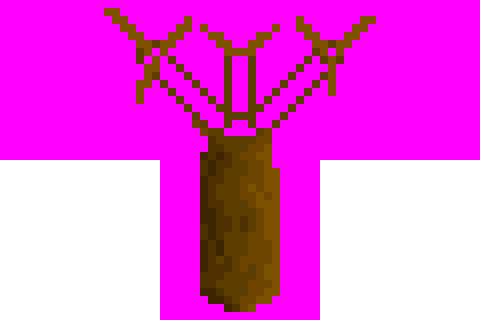
Now that we've mapped out most of our tree, let's add a base color to the main trunk. We'll do it one part at a time so it's a little less confusing.

I start by adding a base color to the whole tree. Also notice that I slightly altered the shape of our trunk to give the tree more character. Don't be surprised if I alter the shape of the trunk more later, to suit the tree better.
Remember, like with the shading of our sphere in the last lesson, you have to shade along *with* the contours of the object. I cannot stress this enough. If you do not shade with the object it will look very wrong, and could possible ruin an image.
(scaled, clck to see whole picture)
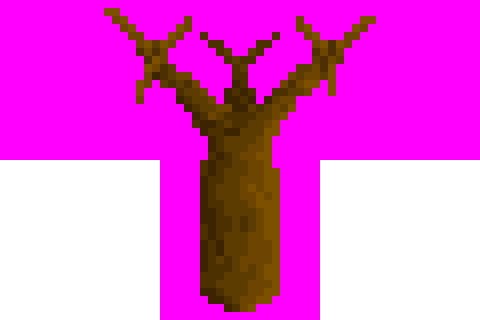
The shading on the first branchres are the same as the shading on the trunk. You might also want change the shape of the branches a bit, so they do look quite as smooth and perfect.
(scaled, clck to see whole picture)
Notice how the branch in the back is darker than the branches in the front. This is another thing that isn't always necessary, but let's assume that the leaves we haven't made yet are casting a shadow down on the top-inside part of the tree.
(scaled, click to see whole picture)
Now that we have all of the trunk done for our tree, we can move on to the leaves. Now we all know healthy leaves are green, but if we wanted our game to take place in fall we'd have to use a color like brown or dark orange. However, for this tutorial, let's going to stick with green.
Start by making a base outline of where you want your leaves to be.

(scaled, click to see whole picture)
Notice how the placement of my leaves are all on the end of my branches. I've also colored each a different shade of green so you can tell which came from which branch. But wait! When I see trees in games, the leaves usually have a dome shape and I can't see any branches! This is true, and is because a trees have a lot more branches than just the ones we made.

If you imagine that tree with leaves at the ends of each branch, it gets cluttered and will probably form a dome-shape.

(scaled, click to see whole picture)
Don't freak out that I covered up all those branches you worked hard to make. The purpose of making all those branches was so you could learn the structure of a tree by making it yourself. But that doesn't explain where all these leaves came from, right? As I said earlier, on a real tree there would be a lot more branches than just what we made. I only took you through the steps to make those branches so you could grasp the concept of how a tree is formed and not get too confused by cluttering your images with branches and leaves. Now that you have that knowledge, you should realize that our tree has more branches than you first thought. Not only that, there are branches going every which way, like towards us, and straight up.
(scaled, click to see whole picture)
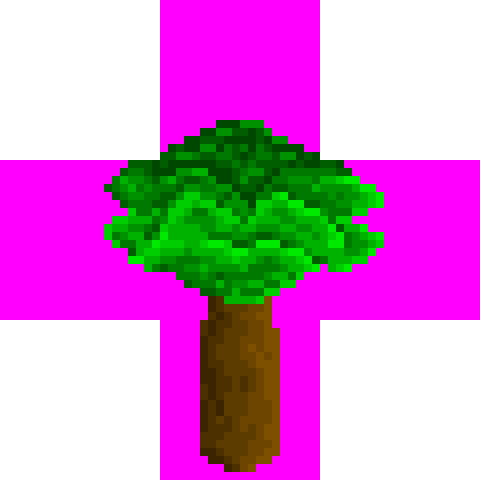
After you've drawn all your leaves and shaded them (and an important thing to remember when coloring your leaves, is that when so many leaves get clumped together, a lot of the time they will seem like one solid object. Making the boarders between leaf clumps lighter than normal will help to achive this feeling of unity) At this point, you migh want to go back and reshape your trunk a little more, to make the image more dramatic.
(scaled, click to see whole picture)
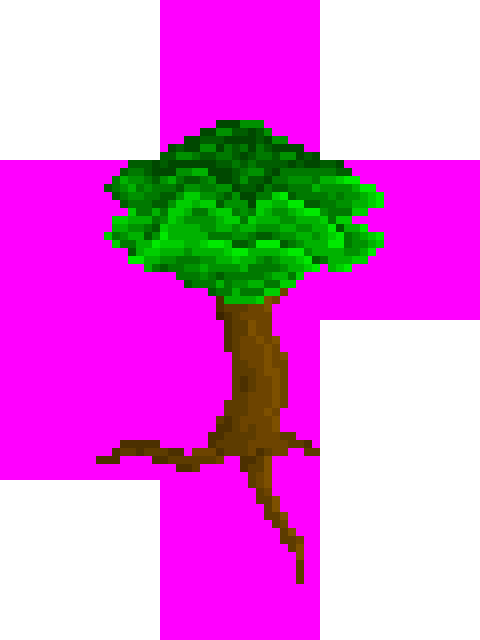
The only bad part about making an image like this is the total number of maptiles it will use. It might be too great for most tilesets (this tree uses 7 maptiles). Another thing is that when you place trees it's a good idea to use many different kinds. For example, I wouldn't want the tree above to be used for EVERY tree in the game (especially not with those roots being so memoriable) . It's a good idea to make a few trees and mix them together.

Another example of a tree, even though it may be too large to be in a game as a maptile.